MyQ Support
This page focuses on support for the MyQ for Netflix WebOS application. Contact us at
.
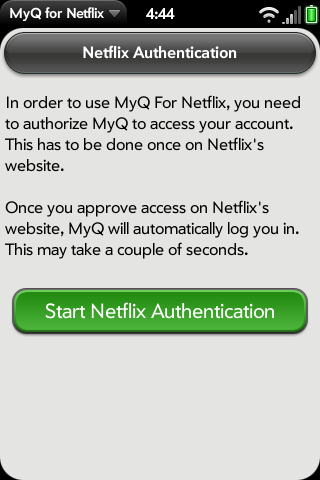
Authentication

Using MyQ For Netflix
Main Page
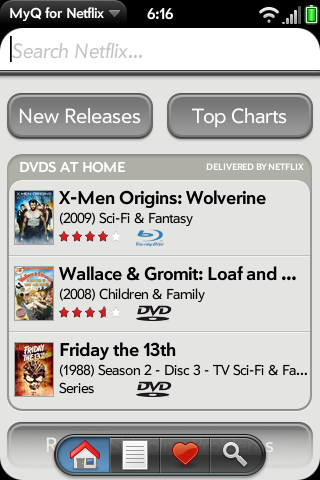
- You can search the entire Netflix catalog in the main page - it will load up the results in the search page.
- You can view New Releases and Top Charts by categories by using the two buttons below the search field.
- A list of discs at home (or being sent home or those on their way back to Netflix) is shown. Each title shows the format of the title (in case you have Blu-ray enabled). Clicking on any title will take you to the detailed view of the title. Below the list is a button to report shipping problems to Netflix.
- At the bottom of the page there are 4 icons - Home, Queues, Recommendations and Search. Tapping them will switch to the corresponding page.
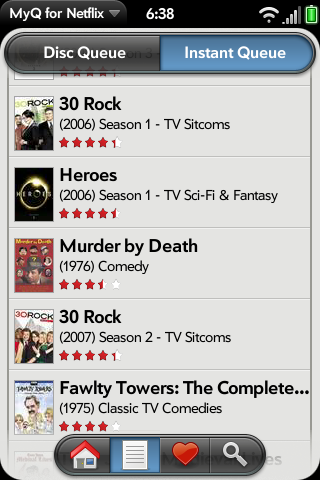
Queues Page
Recommendations Page
The recommendations page allows you to view your Netflix recommendations.
Currently the recommendations are not sortable in any way, but this will
change in a future release.
Search Page
The search page allows you to search the entire Netflix catalog
for titles to add to your queue. Currently searching only searches the
title of the movie or TV series.
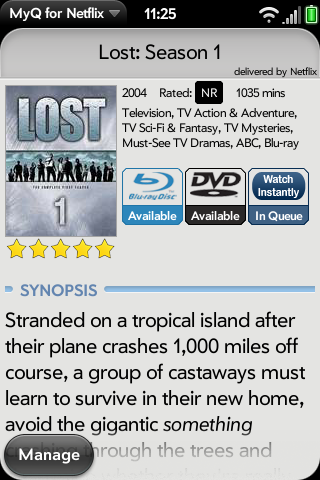
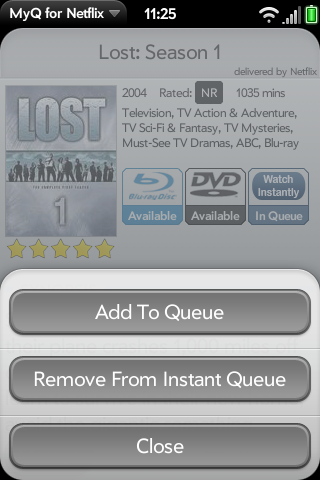
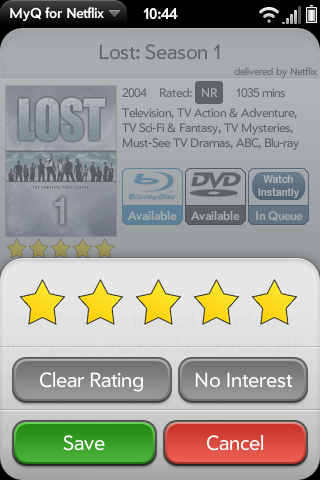
Title Page